Okay - Phase 3 of fabric management.....
[Link for Phase 2 click
here... ]
So I am saving scraps and accumulating quite a few,
What am I going to MAKE with them?
Stage 3 happened the way the other two happened... when my 3 drawer chest and bins began to fill! Rather than buy another bin....
I decided it was time to USE...
I knew that it would be smart to use typical pre-cut sizes - 2.5-in and 5-in. squares and strips. And I started searching for patchwork patterns that I wanted to make!
And I found a TON! And then had to choose what to work with..
* (1-inch) I found a book with mini-log cabin patterns for the different seasons (that I liked) that uses 1-in strips. The name of it is
Holiday Happenings and it is available from Amazon (so please search using my link - thank you!) So there is where I can use tiny 1-inch pieces..
* (2-inch) I found a pattern online that made potholders from a 5X5 block of 2-in squares. ( I kind of thought I could make the blocks and on one ambitious day... turn them into gift potholders for Christmas - with the added bonus of using up the Insulbrite scraps left over from making table runners)
* (3-inch & 1.5-inch) I found a picture of a 4X4 square block with a star in the middle. It isn't a pattern so I made up my version using 3-in squares and 1.5-inch squares for star points.
and a friend turned me on to
http://superscrappy.blogspot.com/ What fun!! She hosts a rainbow-themed block of the month. So - I thought - COOL! I will handle colors of scraps one at a time! And January was blue - all shades of blue to aqua... so I pulled everything from my stash that was a fat quarter on down. Lots of the pieces were from sewing so I had to trim them down (I will do another post on that)
She is doing 12.5 inch star blocks with 6-inch scrap sampler center blocks.
In honesty, I didn't understand the method for the center - but decided I had 2 choices..... spend the time to figure it out - or get busy. I already knew how to do the star - just not the center. BUT I COULD do a 9-patch using 2.5 in squares as a 6-inch block.... so that is what I did so I didn't have to slow down!
This block uses 2.5-in squares for the center - and 4-inch squares for the star points.
Here are my blue potholder tops (2-in squares in a 5 X 5 block):
Here are my 3-in scrappy star blocks (using 3-in blue squares, a 3-in white square and 1.5-in white squares to make uneven star points):
..and some of my tiny log cabin blocks:
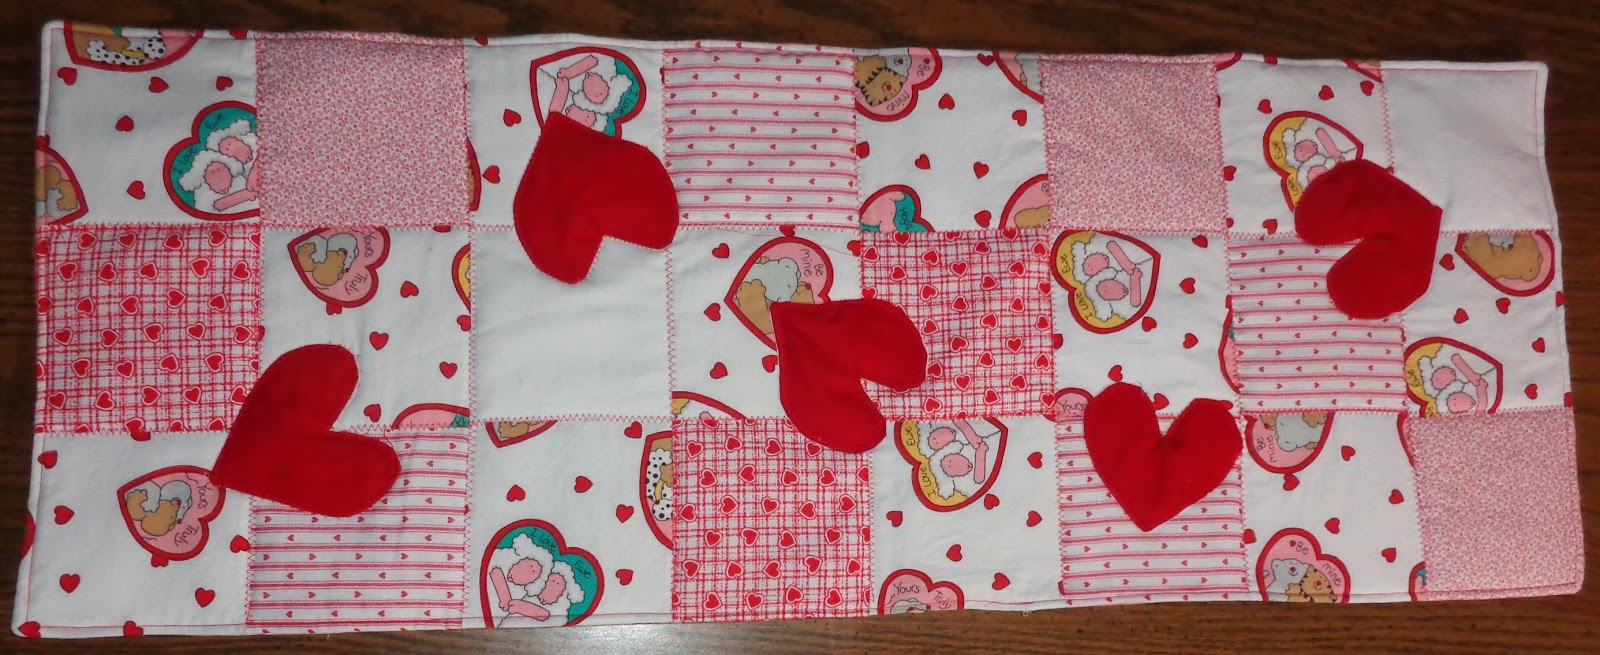
The light blue are destined for an Easter wall hanging and the dark blue for 4th of July.... which will, of course, take a year at least to finish!
and I still had a ton of 2.5" squares so I did an 8X8 block for fun:
I don't have set plans for these blocks but they are fun - and will make nice rainbow-flavored quilts later on! Kind of like having more fabric..... I like possibilities - and it doesn't bother me to create without a specific end in sight :-) Next year, I will look at all I have created and design quilts out of them.
the finished blocks have a bin of their own.... and, as you can see... I have some different size possibilities.
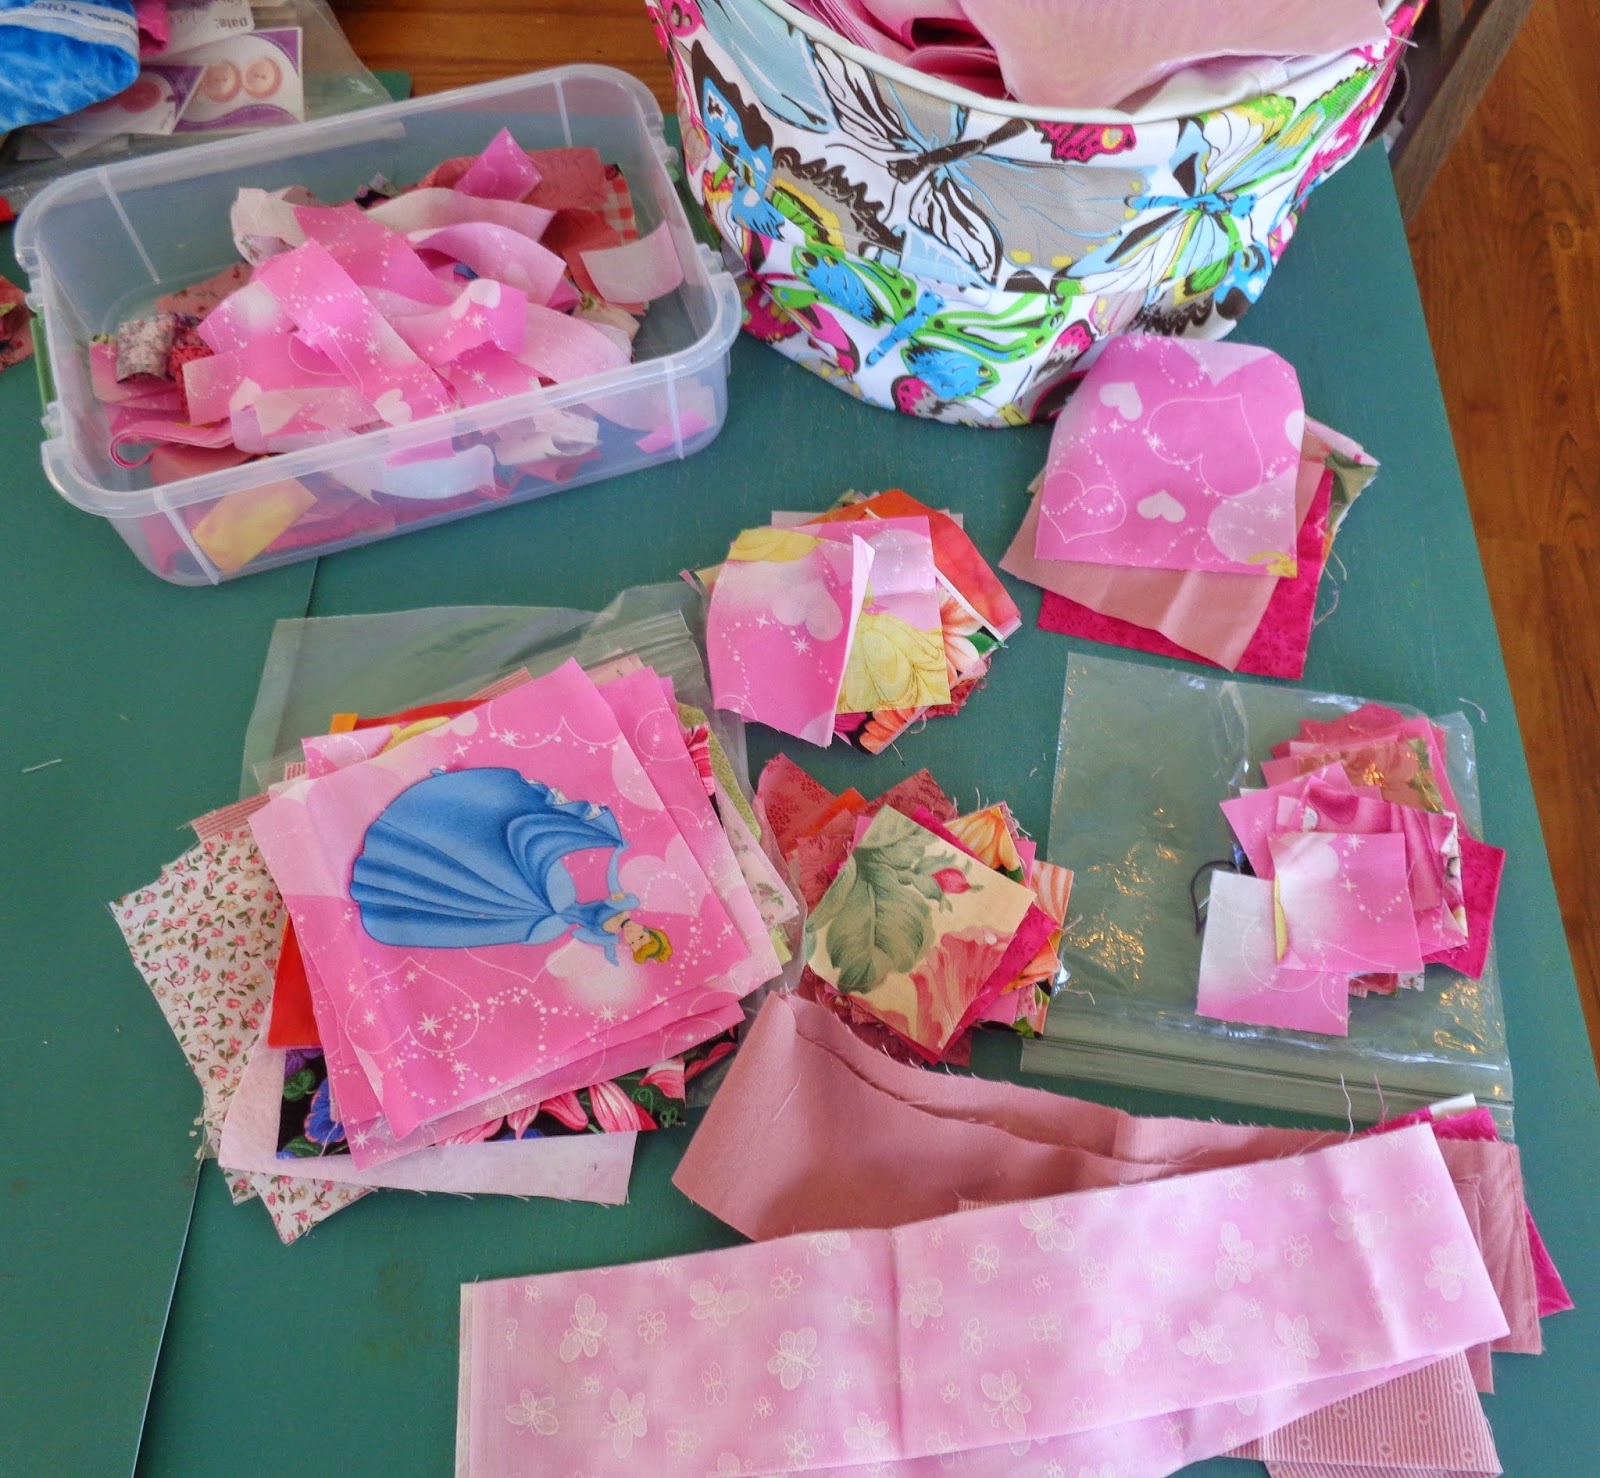
I started small clear boxes by color with plastic baggies of different sized strips: 1-in, 1.5-in, 2 & 2.5-in, 3 & 3.5, 4, 5, 6 and up.
I have since found a mug rug pattern for 2X6-in strips.... and a couple of other ideas as I move through the colors....
So - back to MANAGEMENT! Small box of BLUE scraps sorted into plastic baggies by size with larger rectangles folded neatly on the bottom.
As I do other projects, I am sorting the scraps by size in baggies in another bin until I specifically do that color.
and when January ended..... I went through my big pink fabric bin and pulled these so I can keep moving!